
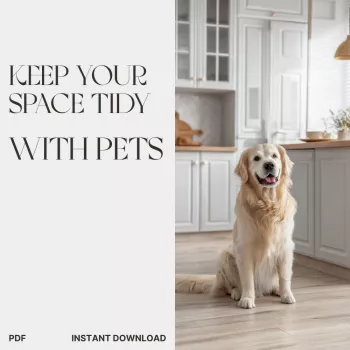
Pets add joy—and extra fur, crumbs, muddy prints, and surprise messes. A tidy space with animals is less about perfection and more about repeatable systems: quick daily resets, pet-safe cleaning choices, and storage that prevents spills and scavenging. This guide breaks down a practical routine (especially for the kitchen) and pairs it with a printable checklist you can use right away.
If your home feels like it flips from “fine” to “chaos” overnight, the fix usually isn’t a longer Saturday clean. It’s a few tiny habits that prevent the “big clean” emergencies. Think in quick resets (2–10 minutes) that happen often, rather than heroic sessions that happen rarely.
A simple way to organize your effort is to separate cleaning into three lanes:
To avoid cross-contamination and keep routines easier, store supplies in two zones: a kitchen-safe set for food surfaces, and a general set for floors and upholstery. Then tailor the routine to your pet’s habits: heavy shedders need frequent floor passes, droolers do best with washable throws, and grazers need sealed food storage.
| Mess type | Where it shows up | 2-minute reset | Weekly deeper task |
|---|---|---|---|
| Fur and dander | Floors, sofa, pet beds | Quick vacuum/sweep high-traffic lanes; lint roll throws | Wash pet bedding; vacuum edges/baseboards |
| Paw prints | Entryway, kitchen, hallways | Wipe with damp microfiber; spot mop | Clean mats; mop with pet-safe solution |
| Food crumbs | Kitchen floor, feeding area | Sweep and wipe under bowls; empty crumb tray | Move bowls; scrub area; sanitize food surface |
| Water drips | Near bowls, fridge dispenser areas | Towel dry; replace absorbent mat | Wash mat; check bowl stand/placement |
| Accidents | Rugs, corners, litter area | Blot; enzyme cleaner; ventilate | Deep clean affected area; refresh odor traps (filters/baking soda) |
The kitchen is where pet messes multiply: food, water, trash, and tempting scraps are all in one place. A “kitchen system” keeps the problem contained so tidying takes minutes instead of a full reset.
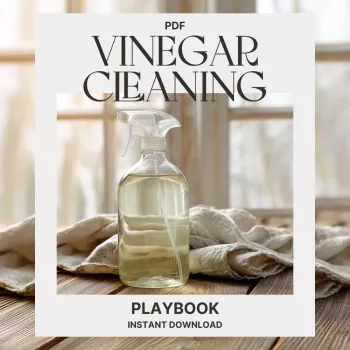
For cleaning and disinfecting basics (especially around food and high-touch areas), keep guidance practical and reputable—resources like the CDC’s home cleaning and disinfecting overview can help you choose a sensible approach without overdoing harsh chemicals.
If you’re trying to simplify what you buy, the EPA Safer Choice program is a useful starting point for identifying products designed with safety in mind.
If you want ready-to-print pages that match the routines above, use the Printable home cleaning checklist and pet-friendly kitchen organizer (digital download) to set up a kitchen reset, a weekly plan, and refill tracking in one place.
For a room-by-room approach to keeping your space looking pulled together (while still being realistic about fur, paws, and play), pair it with Pet-Proof & Pretty: the home décor checklist for pet owners.
Do a short reset: wipe food-contact surfaces, sweep or vacuum around bowls and the main “crumb lane,” refresh water, and secure trash and pantry items. The key is repeating it daily so mess never gets a chance to snowball.
Rinse bowls daily, and wash thoroughly on a regular schedule—more often if you serve wet food. Stainless steel is typically easier to keep fresh, while scratched plastic can hold residue and may need replacing.
Blot first, then apply an enzyme cleaner and give it enough dwell time to break down the odor source. Avoid steam cleaning until the area is fully treated, and repeat treatment if any smell remains.

Leave a comment