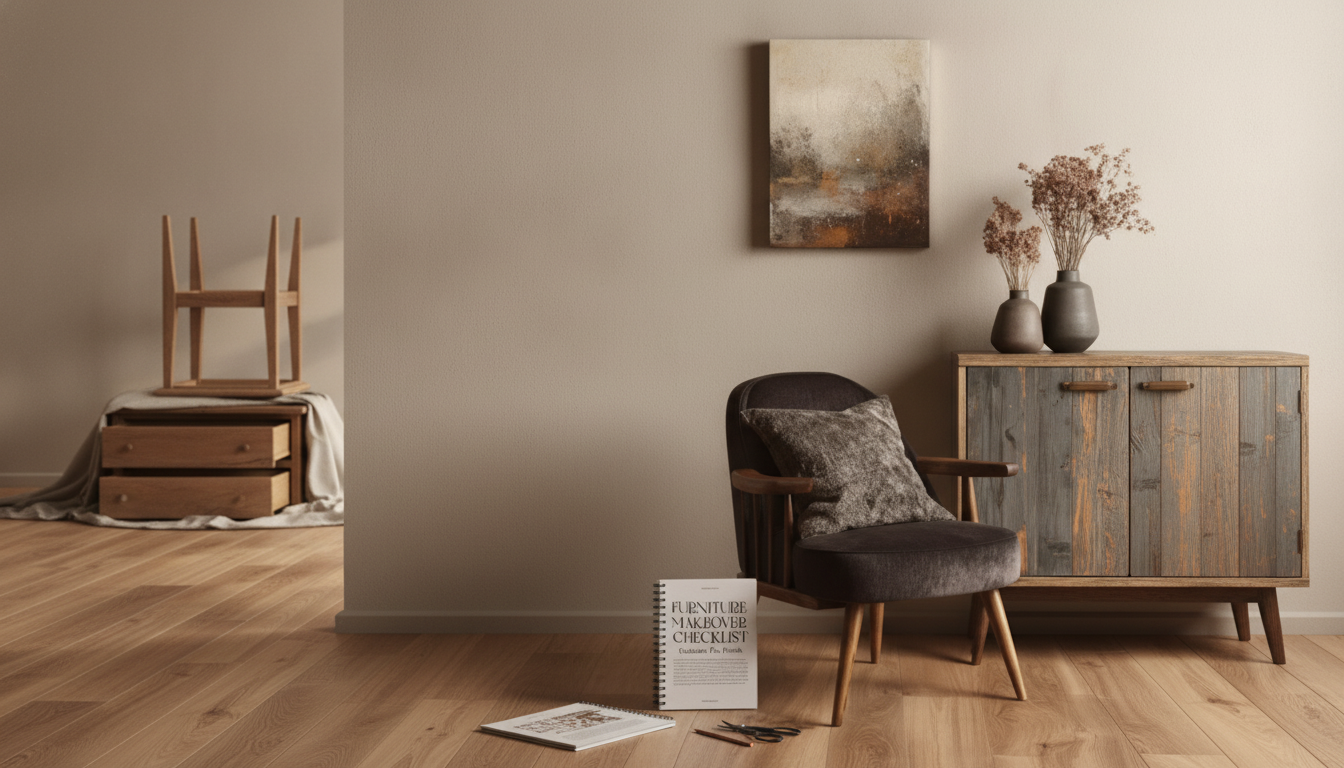
Old furniture can become a standout feature with a clear plan and a few practical decisions upfront. This checklist-style guide walks through quick evaluation, safe prep, simple repairs, finish options, and styling—so each piece ends up either transformed, responsibly passed on, or recycled without second-guessing.
Before buying paint or renting tools, take 10 minutes to figure out what you’re really working with. First, identify the material: solid wood, veneer, laminate, metal, or upholstered. That single detail determines whether sanding is safe, which primers bond, and whether stain will look even.
Next, check stability. Wiggle the legs, push side-to-side to test racking, open and close drawers, and look for hardware strain around handles and hinges. If the piece is fundamentally shaky, cosmetics won’t matter until the structure is sound.
Watch for deal-breakers: pervasive mold, active pest damage, severe warping in structural parts, or broken frames in high-stress areas. When health or safety is involved, the smartest makeover is often “don’t bring it inside.” For mold basics and safe cleanup, the CDC guidance is a solid reference: CDC: Mold — Cleanup and Control.
Finally, decide the goal (keep, gift, sell, donate, recycle). A “sell” makeover focuses on durability and neutral finishes; a “keep” makeover can be bolder. Take quick before photos and measure the footprint so you don’t refinish something that won’t fit the room.
| Condition | Best Next Step | Why | Time Level |
|---|---|---|---|
| Sturdy frame, cosmetic scratches only | Clean + light sanding + paint/stain | Fast improvement with minimal risk | Low |
| Loose joints, wobbly legs, drawers sticking | Tighten/repair + refinish | Fixes usability before aesthetics | Medium |
| Veneer peeling, water rings, chipped edges | Patch + prime + paint (or veneer repair) | Paint hides patches better than stain | Medium |
| Strong odor, heavy smoke smell, pet saturation | Seal/replace parts or donate only if fully cleaned | Odors can return without sealing | Medium–High |
| Active mold/pests, severe structural failure | Recycle/dispose per local guidance | Health/safety and cost usually outweigh benefits | Low (decision), High (handling) |
Set up for clean results and fewer headaches. Work in a ventilated area with a drop cloth and a stable surface (sawhorses or a padded worktable). Create a “dry zone” for sanding and a “clean zone” for painting so grit doesn’t land in your wet finish.
Wear eye protection, gloves, and a properly fitted mask or respirator for dust and fumes. If the piece is older and has unknown paint layers, take lead precautions—especially for items likely painted before 1978. The EPA’s overview of lead-safe practices is a helpful starting point: EPA: Lead-Safe Renovations for DIYers.
Gather essentials upfront: screwdrivers, mild cleaner/degreaser, a range of sandpaper grits, vacuum, microfiber/tack cloth, wood glue, clamps, filler, primer, your chosen paint or stain, and a compatible topcoat.
Remove all hardware first. Bag and label screws so you’re not forced into a “mystery fastener” puzzle later. Then clean with a degreaser appropriate for the surface—kitchen and dining pieces often have invisible oils that make paint fisheye or peel.
Rinse and let the piece dry fully. Moisture trapped under primer can cause bubbling, soft paint, or a cloudy topcoat. For odors, air the piece out in sun and fresh air when possible, and consider an odor-sealing primer for drawer boxes or raw wood interiors.
Finish with detail cleaning: vacuum crevices and inside drawers. Any grit you leave behind tends to telegraph as bumps once you roll or brush on the finish.
For a simple, trackable workflow you can print and reuse, try the Furniture Makeover Checklist (printable guide).
Dust control is a finish-saver: vacuum thoroughly and wipe with a tack cloth or microfiber. Then prime based on the problem. Choose a bonding primer for slick or glossy surfaces, and a stain-blocking primer for tannins, knots, smoke, or water marks. For a deeper overview of materials and finishes, see: National Park Service: Caring for Furniture.
If you’re refreshing the whole room after your furniture upgrade, a quick companion resource can help keep choices cohesive: Accent Wall Magic Checklist. And for homes with cats or dogs, the Pet-Proof & Pretty: The Home Décor Checklist is useful for choosing durable finishes and layouts that stay looking good.
Paint is usually best for veneer, patched areas, mixed materials, or when you want a major color change because it hides flaws. Stain tends to look best on solid wood with minimal repairs and an even grain; always test a small hidden spot and match durability to how the piece will be used.
Remove hardware, clean and degrease thoroughly, scuff-sand for adhesion, and remove dust completely before priming. Use a primer that fits the surface and stains you’re dealing with, and follow lead-safe precautions if the piece has older unknown paint layers.
Paint can feel dry quickly but still be curing underneath; “recoat time” and “full cure” are different. Handle the piece gently for several days and avoid heavy use until the finish reaches full cure, which varies by product and conditions.


Leave a comment